Managing group classes while keeping track of time, resources, and student needs can be demanding. With Mousiki, however, this process is simplified and streamlined, offering you a suite of automated tools to handle every aspect effortlessly.
Mousiki’s smart scheduling and resource management features allow you to focus on creating engaging group classes, as the platform automatically handles scheduling, time adjustments, and attendance tracking.
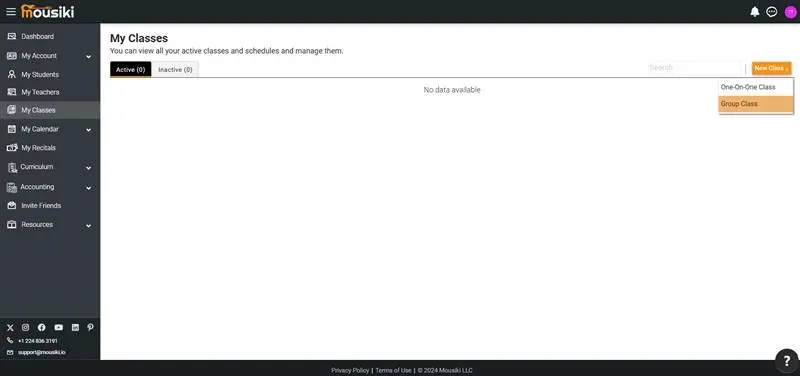
Mousiki makes it easy to set up a new group class. Simply navigate to the "My Classes" section from the left-side navigation menu on your Dashboard, and select the "New Class" button.
From there, choose “Group Class” to proceed to the setup page, where you’ll be guided through entering essential details.
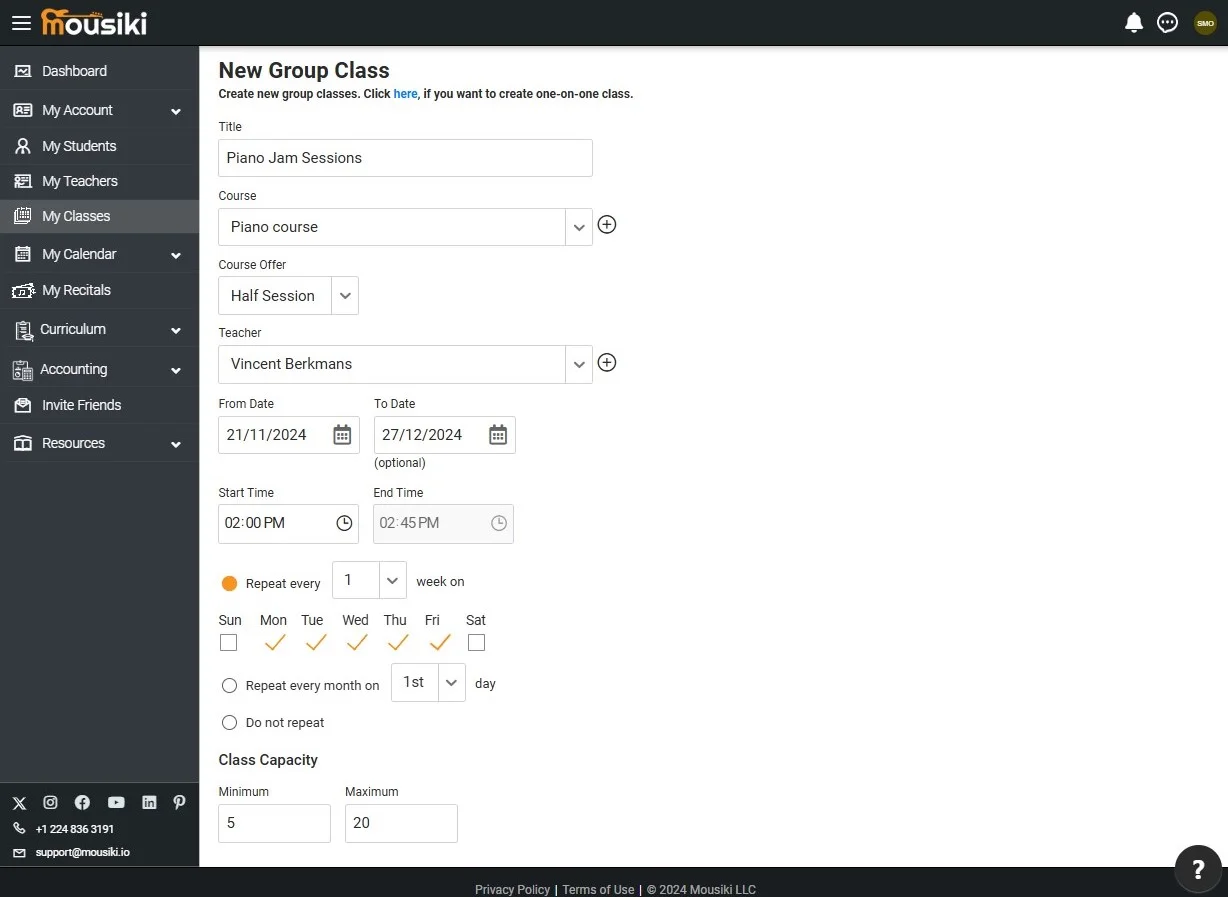
On the group class setup page, you can tailor each class to meet your specific needs. Start by giving your class a unique title and selecting the appropriate course or course offerings.
You’ll then set the start and end dates, times, and the days of the week the class will be held. Additionally, Mousiki allows you to set class capacity limits, so you can manage group sizes and ensure an optimal learning environment for every session.
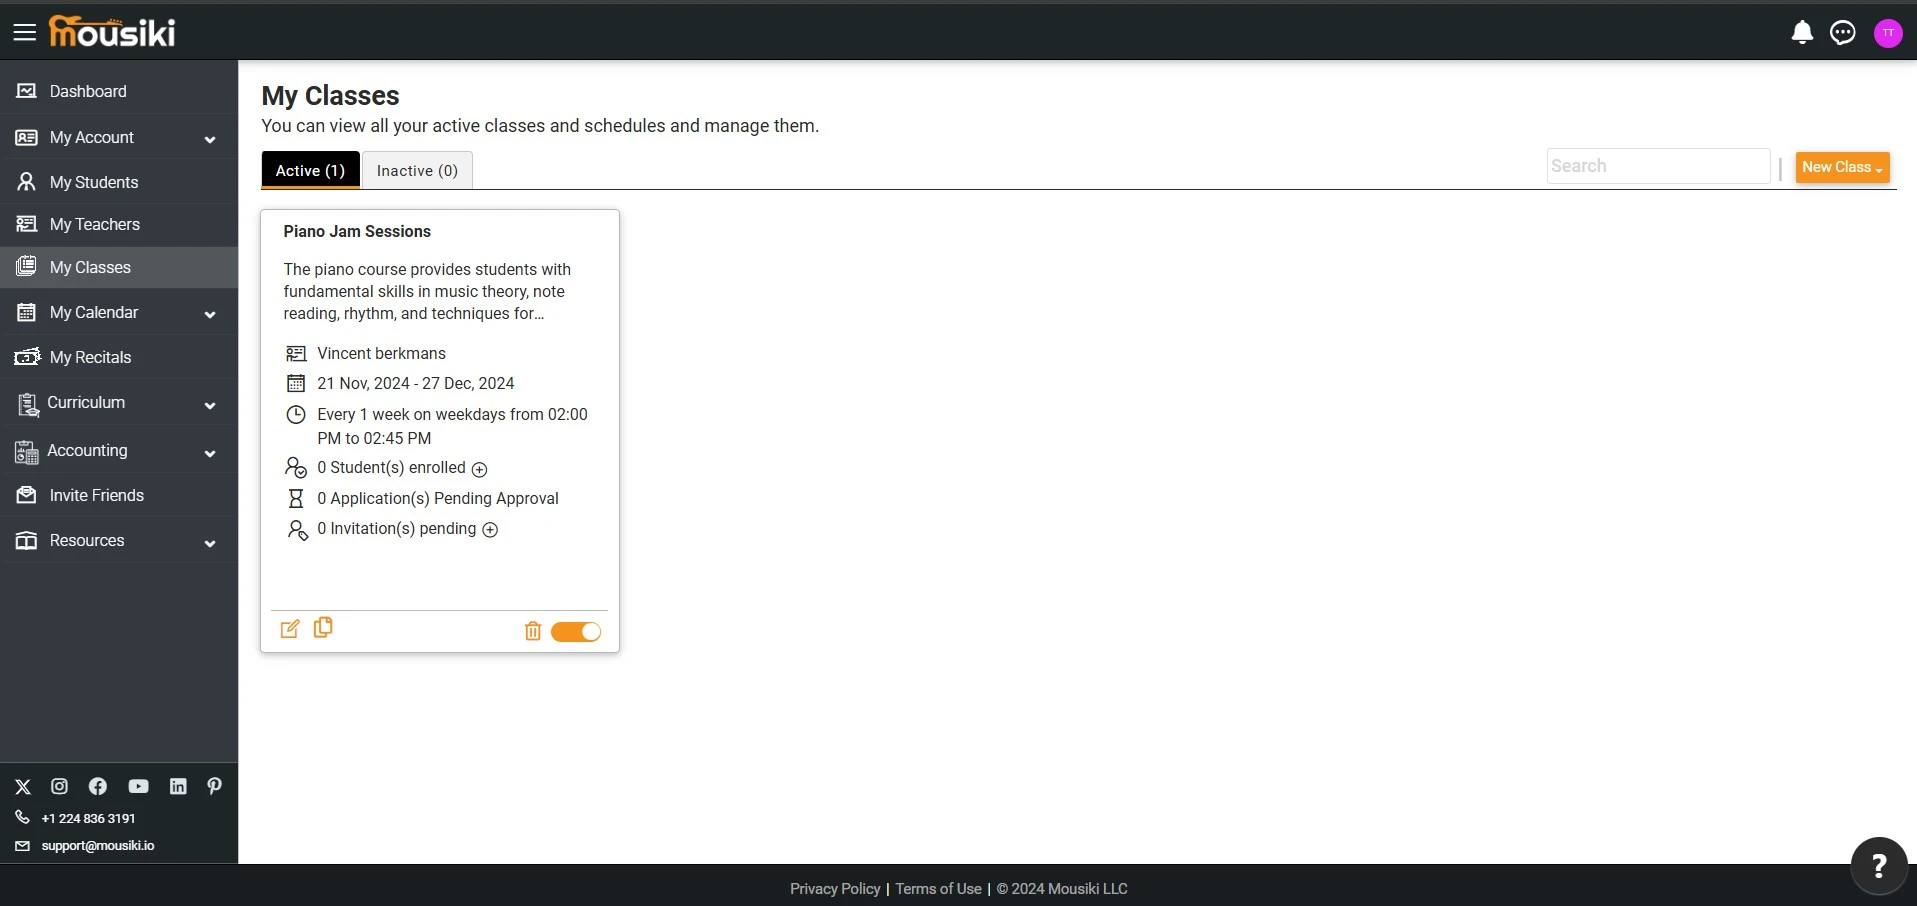
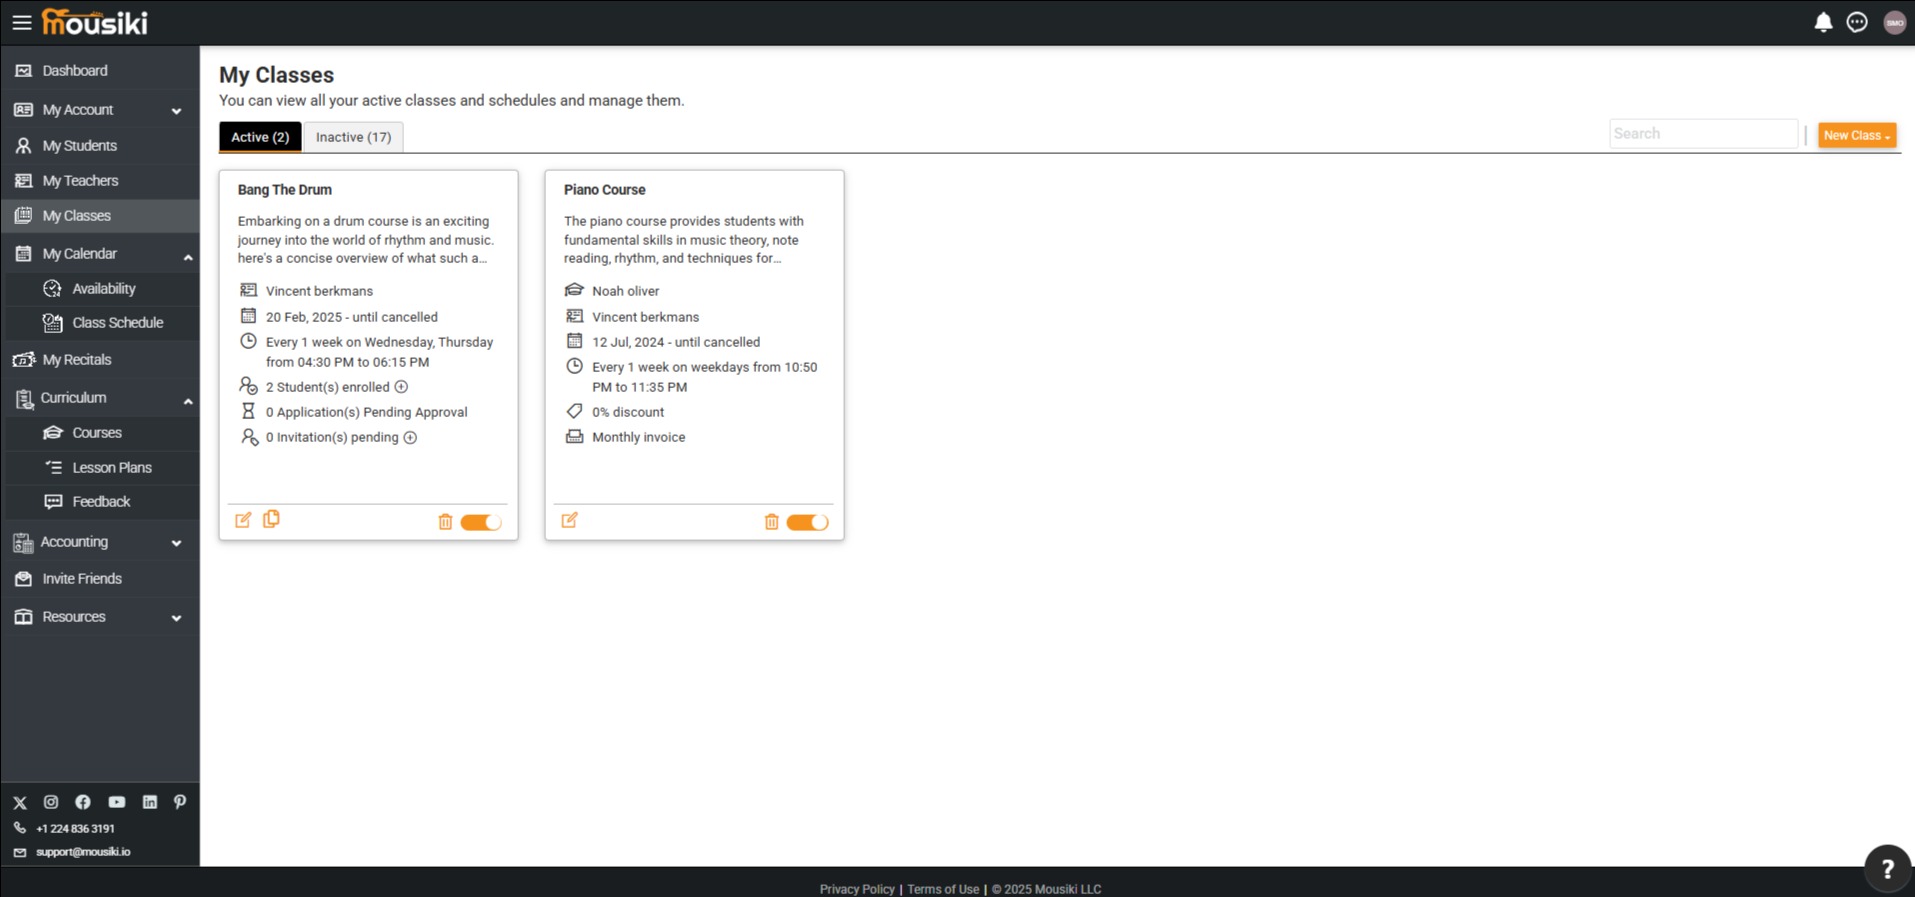
Once your group class is created, you’ll be redirected to the Group Class page, where you can view both group and one-on-one classes, clearly labeled to distinguish between the two.
Only school administrators and teachers can update, delete, or manage the class status (active/inactive), while students have view-only access to their enrolled classes.
By clicking on your enrolled class, you’ll access the Manage Group Class page. Here, you’ll find comprehensive details about the class, including the assigned teacher, scheduled dates and times, and the class capacity.

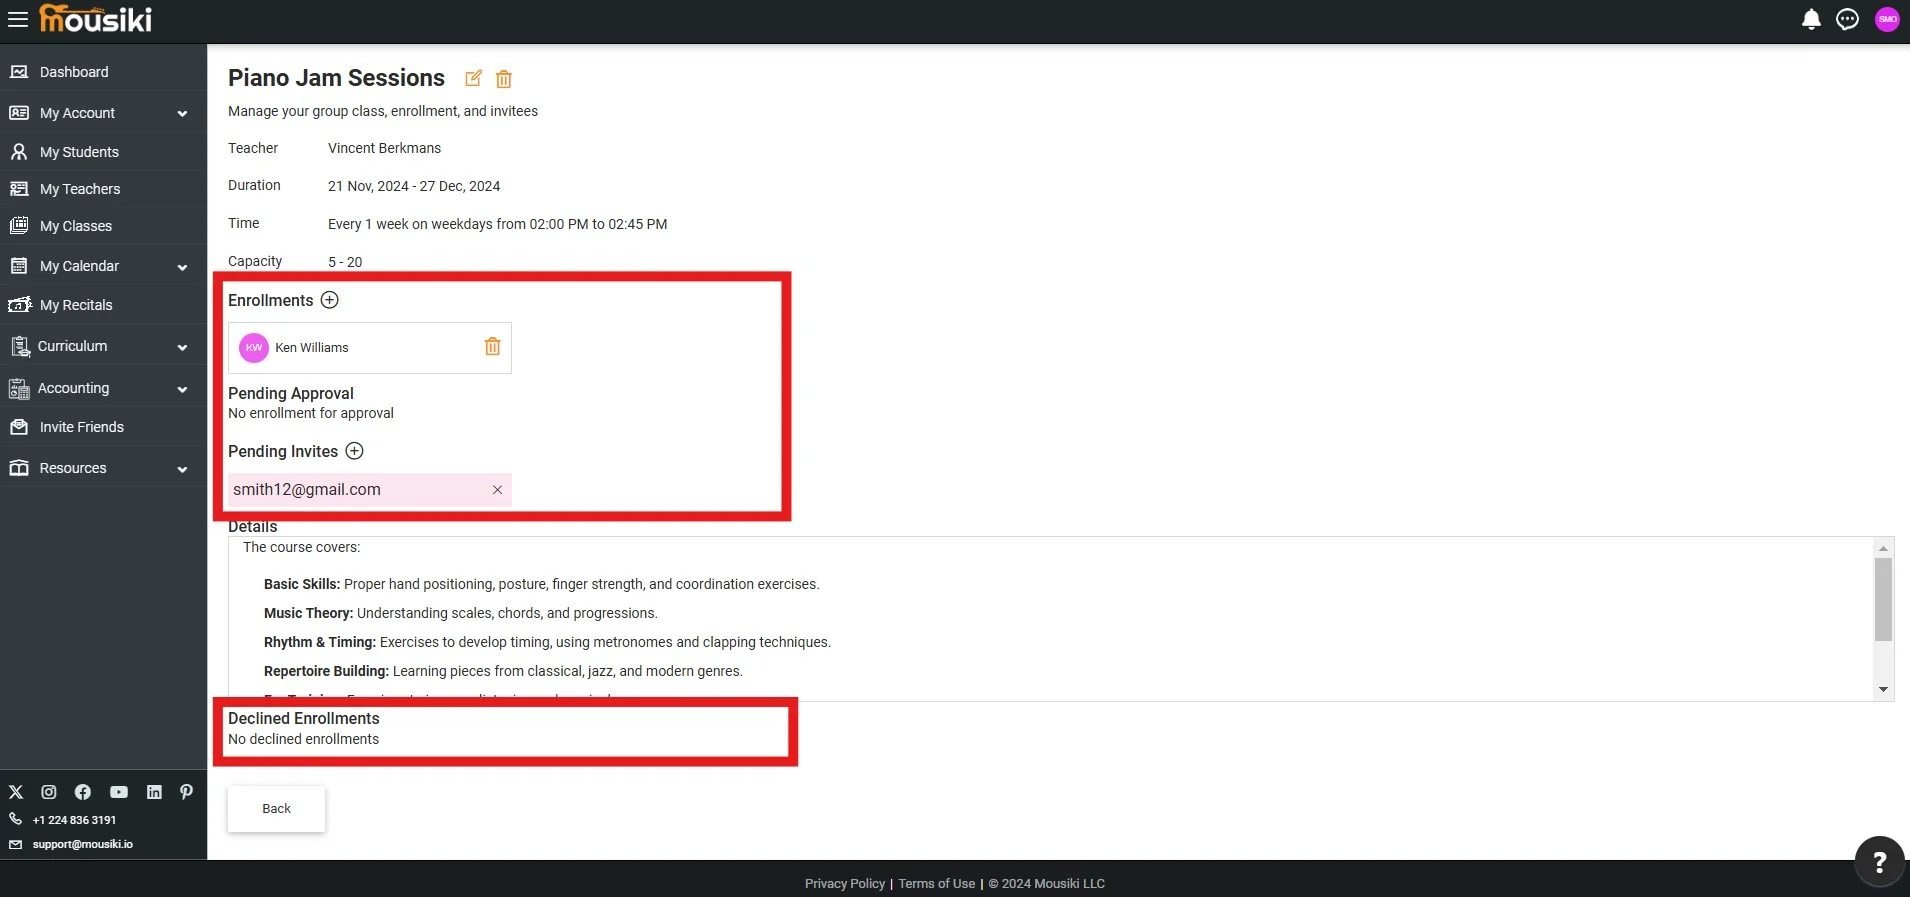
You can invite students by clicking the add icon next to “Enrollments,” instantly enrolling the student in the respective class.
Alternatively, click the add icon next to “Pending Invites” to send an invitation email to the student. Once they accept and submit their details, their status will move to “Pending Approval.”
Upon management’s approval, they’ll be added to the enrollment list, while unapproved requests will appear under “Declined Enrollments.”